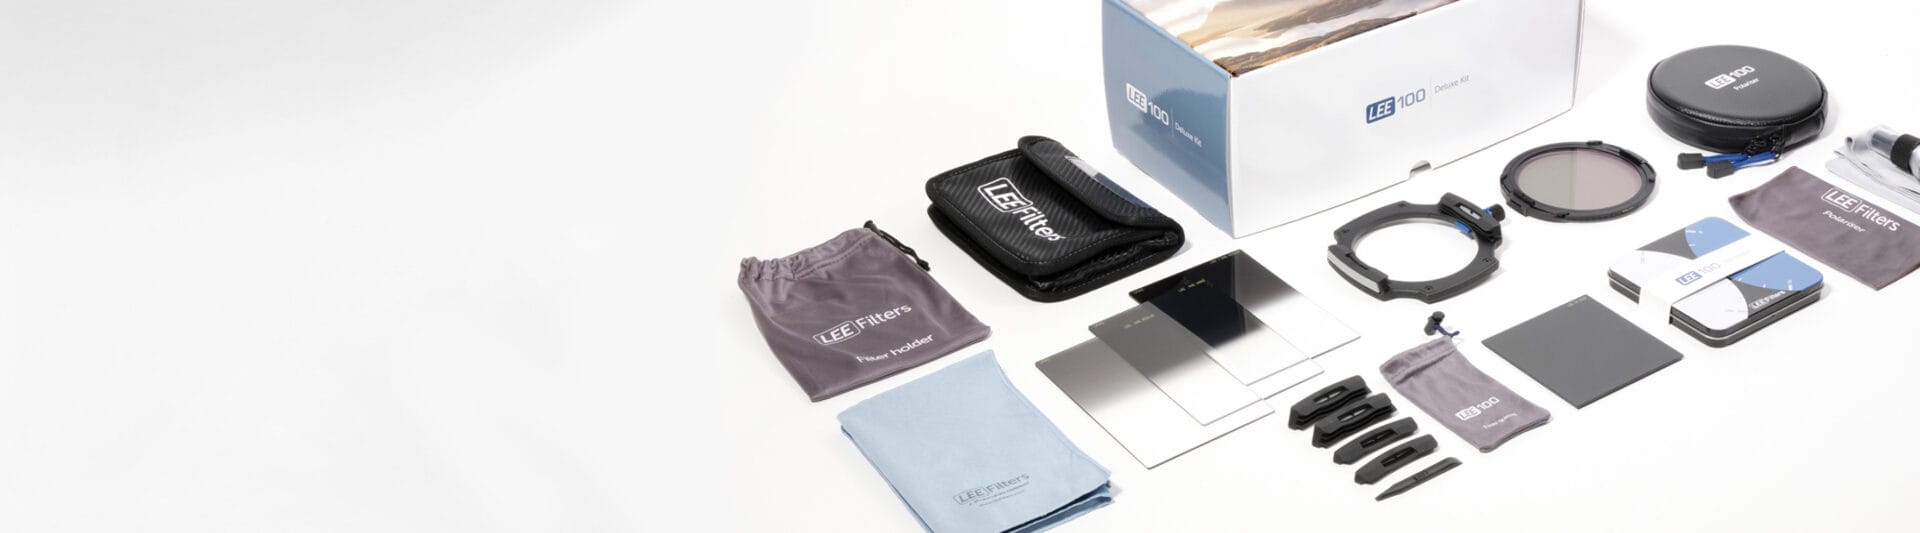
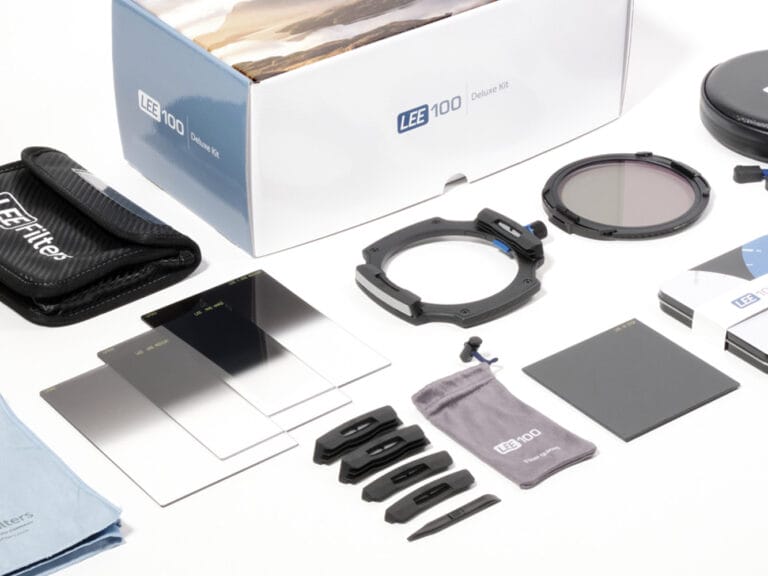
Our ND Grads may well be the most labour intensive item in many camera bags. Our skilled UK team gradually builds up the ND and gradation by dipping optically correct resin in and out of baths of dye and continuously monitoring the results. Each filter represents up to an hour of skilled work.
Whatever format you shoot, ND Grads help cameras record scenes more like we see them – with a broad tonal range that's lost if not captured in the moment.
There is a place in landscape photography for both hard and soft grads. Which one you decide to use will depend mainly on the subject matter of your image.
As a general rule, a hard grad would be used for images containing a horizon, or any hard transition between the sky and the foreground - even with jagged or mountainous horizons, the exposure can be controlled far easier with a hard grad.
Soft grads perform best in woodland, mist, or interiors. Anywhere where there is no definite transition between sky and foreground, a soft grad will gently balance exposure across the image.
ND Grads can be stacked together, or with other filters, so you can respond to almost any lighting situation.
Set camera to manual. Point lens at foreground and take average centre weighted meter reading through the lens.
Note the exposure difference between ground and sky.
Select the right ND grad to correct exposure difference to within 1 stop. For example, if the sky is 3 stops brighter than the ground, add a 0.6 ND (2 stop) grad filter to the sky only.
The grad transition line should be visible through the viewfinder or on the LCD screen. Stopping the lens down and using the depth of field preview can make the grad transition line easier to see.
Expose image using base exposure already established.
Lock camera in place on tripod. Take readings from scene mid-tones.
For detail to be retained in shadows they should be within 2 stops of base exposure. If necessary increase base exposure slightly.
Note the exposure difference between ground and sky.
Select the right ND grad to correct exposure difference to within 1.5 stops. Anything more than +2 stops will be burnt out in final image.
The grad transition line should be visible through the viewfinder or on the LCD screen. Stopping the lens down and using the depth of field preview can make the grad transition line easier to see.
Expose image using base exposure already established.


Get up to speed fast with our videos that explain the LEE Filter System and how to use it
The aim of the ND Standard filter is to reduce the exposure equally across the entire frame. It is most commonly used to lengthen shutter speeds in order to blur movement.
ND Filters can be stacked together, or used with other filters, so you can respond to almost any lighting condition.
When shooting digitally, light at the infrared and ultraviolet ends of the spectrum can be problematic. The ProGlass range of filters has been designed with this in mind. These glass neutral density filters are optimised for use with digital cameras, as they absorb more infrared and ultraviolet light than traditional ND filters. The result is a punchier image, with less discolouration in adverse lighting conditions.


Polarising filters are used primarily to reduce reflections. This can be useful when photographing skies, water, glass etc.
screws onto camera lens
attaches to the adaptor ring
slides into the filter holder